
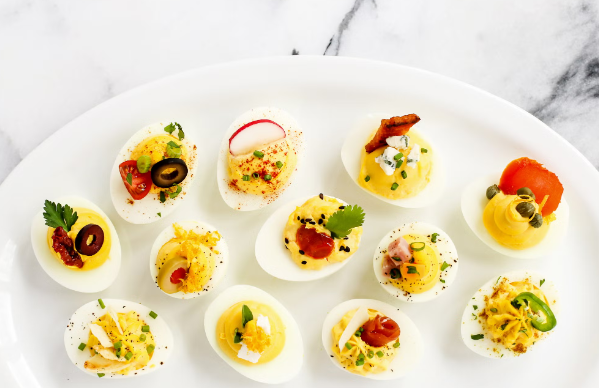
Most people search for how to make a deviled egg tray because something already went wrong. The eggs roll. The filling smears. The platter looks fine until someone tries to pick one up. At that moment, a deviled egg tray stops being a “nice-to-have” and becomes a practical tool.
Before cutting wood or improvising with household items, it’s worth slowing down for a minute. Not every situation calls for the same solution, and choosing the wrong approach is the fastest way to waste time.
If you’re preparing deviled eggs for a last-minute party or potluck, speed matters more than durability. A tray that survives one afternoon and holds eggs steady is enough. If this is your first DIY project and you simply want something reusable, the goal shifts toward forgiveness and ease of correction. And if you already have woodworking experience or plan to use the tray for years, precision and material choice start to matter far more than speed.
Cost, time, and tool complexity move together. The simpler the method, the lower the investment, but also the shorter the lifespan. There is a point where making one yourself stops making sense, especially if you need multiple trays quickly or want a flawless presentation. Knowing where you sit on that spectrum makes every decision after this one much easier.
The 5-Minute No-Tool Solution That Simply Works
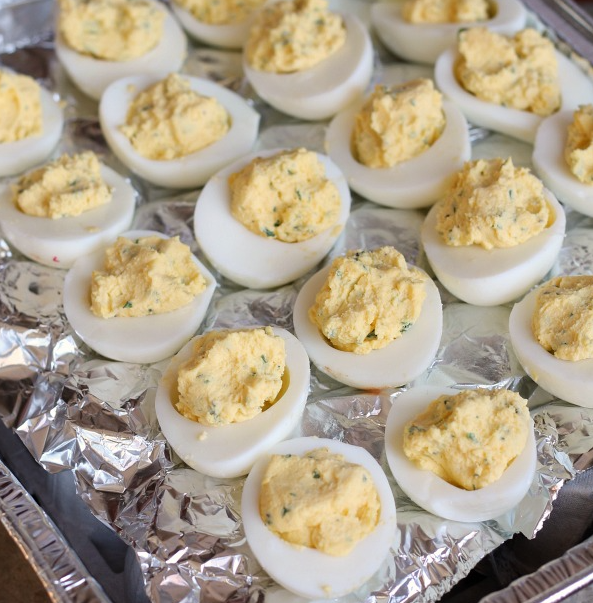
This approach exists for one reason: you need something that works right now.
Using common household materials, it’s possible to create a surface that stops deviled eggs from rolling without caring how it looks tomorrow. Cardboard, thick paperboard, foam packaging, or even a folded kitchen towel can be shaped to cradle egg halves just enough to keep them stable.
The logic behind this method is simple. A deviled egg only needs lateral support at its widest point. You’re not creating a cup; you’re creating friction and shallow restraint. By cutting or shaping shallow depressions slightly narrower than the egg’s midpoint, the egg naturally settles without tipping.
Capacity is limited here. Six eggs sit comfortably without crowding. Twelve is usually the upper limit before spacing becomes inconsistent and stability drops. Anything beyond that becomes frustrating rather than helpful.
This solution travels well, works once, and asks nothing from you except a few minutes of attention. It does not aim to look good. It does not survive washing. It solves the single problem of keeping eggs from rolling across a plate, and then it’s done.
A Beginner-Friendly Wooden Tray That Most People End Up Making
For anyone who wants a reusable tray without turning the project into a full woodworking exercise, wood remains the most forgiving material.
This is where most home-made deviled egg trays land. The process combines basic hand tools with optional power tools, but nothing here demands precision machinery. What matters more than the tools is choosing wood that behaves well when mistakes happen.
Soft hardwoods or stable softwoods that resist splitting are ideal. Food safety is not about the wood itself so much as what you put on it afterward, but starting with a clean, untreated board avoids unnecessary complications. Thin boards crack easily. Overly hard woods punish small errors. A medium thickness with visible, straight grain gives you room to adjust.
The tray’s layout should be decided visually, not mathematically. Egg halves don’t follow exact measurements, and chasing numbers often leads to overthinking. The easiest approach is to place real egg halves on the board, mark their natural spacing, and let that guide your pattern. Slight variation looks intentional. Perfect grids often don’t.
Beginners tend to struggle in three places. The first is drilling or carving holes too deep, which makes eggs hard to remove and visually heavy. The second is inconsistent spacing, usually caused by marking everything at once instead of working outward from a center reference. The third is rushing the surface finish before the tray is truly smooth.
A food-safe finish matters here, but it doesn’t need to be complicated. Oils and waxes designed for kitchen tools work well when applied patiently. Thin coats, time to absorb, and proper curing do more for durability than brand names ever will.
When Precision Starts to Matter More Than Simplicity

At a certain point, hand tools stop being the limitation and repetition becomes the problem. This is where powered methods make sense, not because they are “better,” but because they reduce variation and fatigue.
Most readers don’t need to distinguish between different machines. What matters is what they offer. One path favors speed and consistency. The other favors symmetry and decorative control. Both improve repeatability.
Powered routing methods shine when you want uniform depth and smooth walls across many cavities. Once set correctly, they remove guesswork. Decorative tracing methods introduce visual rhythm and allow more creative layouts, especially when presentation matters as much as function.
The real challenge at this level isn’t the machine itself, but restraint. Over-cutting, chasing perfect symmetry, or polishing surfaces beyond what food contact requires often introduces more problems than it solves. Clean depth control and gentle finishing matter more than technical perfection.
Material Choice, Food Safety, and How Long the Tray Will Actually Last
Not all materials age the same way in a kitchen environment. Wood remains popular because it balances warmth, workability, and repairability. A small number of common woods cover nearly every practical need, and beyond that, options add complexity without real benefit.
Food-safe finishes are less about labels and more about limits. Anything that seals the surface without creating a brittle shell performs better over time. Thick coatings chip. Thin finishes wear gracefully and can be renewed.
Non-wood options exist for good reasons. Some resist moisture better. Some clean more easily. Others prioritize visual clarity. They make sense in specific contexts, but they also remove the tactile satisfaction that draws people to making their own tray in the first place.
Cleaning and storage define longevity. Standing water, harsh detergents, and sealed containers do more damage than normal use. A tray that dries fully and rests in open air lasts far longer than one treated aggressively.
Design Choices That Add Value Without Complicating the Build

Most customization ideas never leave the sketch stage, and that’s a good thing. The changes worth making are the ones you’ll notice every time you use the tray.
Capacity affects more than count. A six-egg tray feels deliberate and compact. Twelve balances practicality and presentation. Twenty-four only works when spacing, handling, and storage are considered together.
Egg size matters more than people expect. Jumbo eggs demand subtle changes in depth and spacing. Ignoring this leads to trays that look correct but feel awkward in use.
Handles, edges, and partitions earn their place when they solve a real problem. Carrying, cleaning, or serving become easier when these elements are designed with intent. Multi-layer designs can impress visually, but they introduce instability unless carefully planned. Sometimes simplicity is the stronger statement.
Problems You’ll Run Into and How People Actually Fix Them
Wood cracks not because it’s weak, but because it was stressed unevenly. Thin sections, rushed drilling, or ignoring grain direction are usually the cause. Small cracks can often be stabilized rather than discarded.
Uneven hole depth is common and rarely fatal. Shallow corrections, sanding adjustments, or visual balancing often solve the issue without redoing the entire tray.
Templates slip. They always do. The fix is rarely tighter clamps, but better surface contact and patience during setup. Taking an extra minute here saves an hour later.
Finishes sometimes blotch or dull unevenly. This doesn’t mean starting over. Light sanding, additional thin coats, and time often restore balance more effectively than stripping everything away.
Is Making One Actually Worth It?
For temporary use, making a tray is often faster than finding one. For long-term personal use, the value depends on whether you enjoy the process as much as the result. As a gift or display piece, the time invested becomes part of its meaning.
Tool investment only pays off if you reuse it. That’s why some people stop after one tray, while others immediately plan a second. The difference isn’t skill. It’s whether the making itself felt rewarding.
A good deviled egg tray doesn’t announce how it was made. It simply works, quietly, every time someone reaches for an egg.